服务器:腾讯云服务器
nginx版本:nginx/1.18.0 nginx下载地址
CentOS: CentOS Linux release 7.6.1810 (Core)
查看安装模块
- 查看安装了哪些模块,
nginx -V显示的很乱,看起来不是很方便,如下: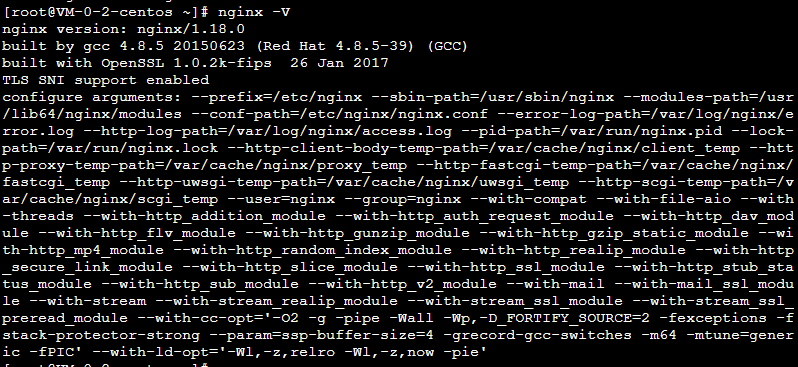
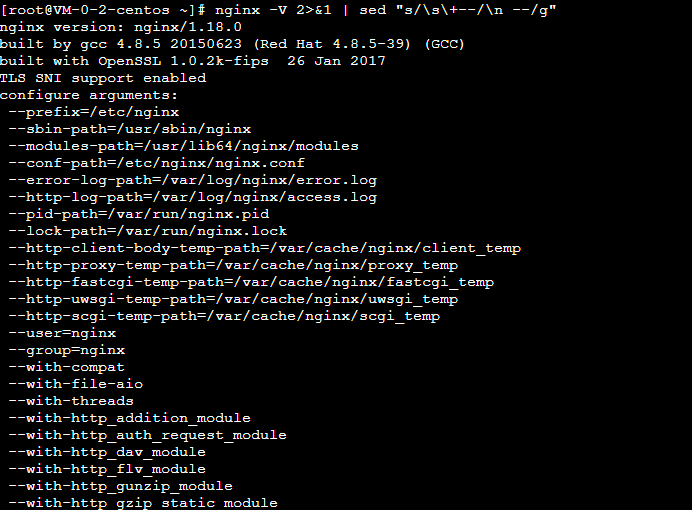
- 输入下面的命令,就可以很清晰查看安装了哪些模块了
1
nginx -V 2>&1 | sed "s/\s\+--/\n --/g"
配置SSL证书
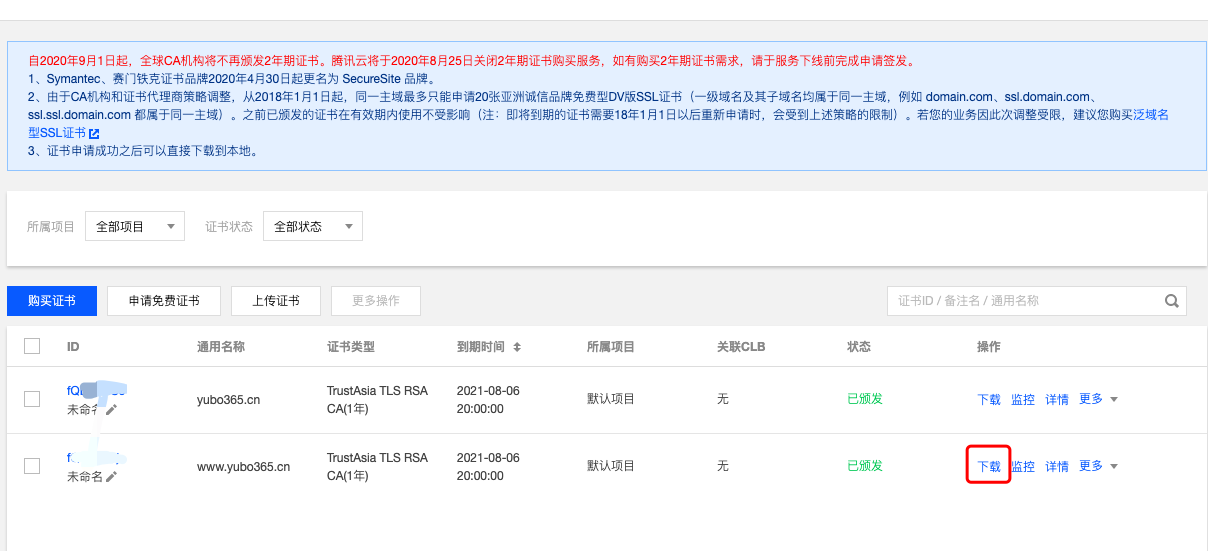
- 这里我用的是腾讯云服务器,点击下载证书
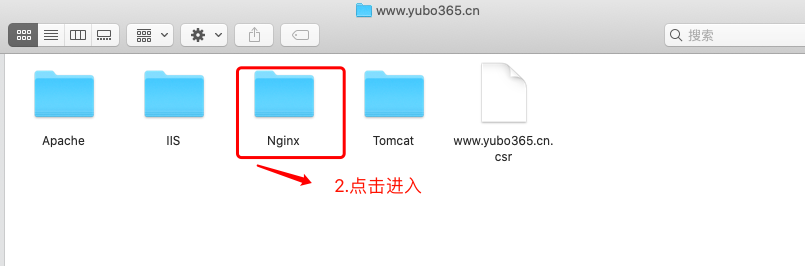
- 下载后有个这个文件夹
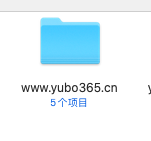
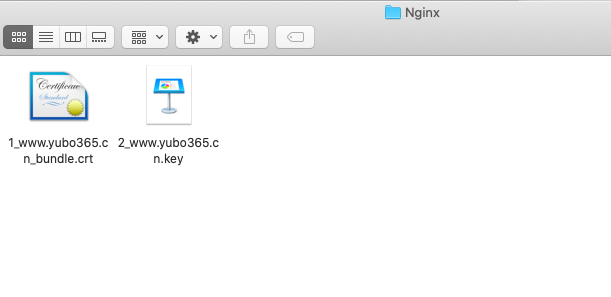
- 打开文件夹,找到nginx文件
- 打开nginx文件里面两个文件复制一下
- 这个时候连接到云服务器
把刚刚nginx文件里面复制的两个文件,放在/etc/nginx/conf文件中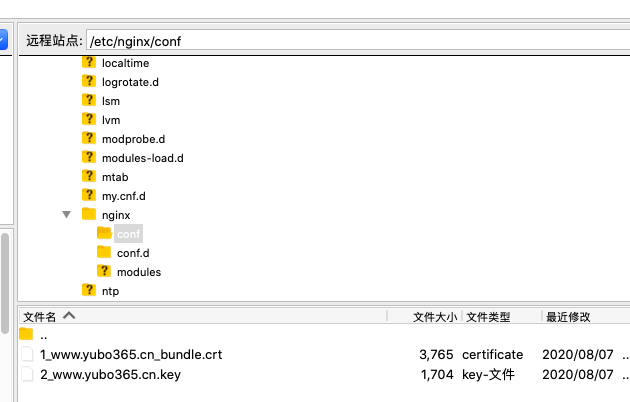
- 通过
vim /etc/nginx/conf.d/default.conf进行编辑配置,将下面的www.yubo365.cn换成你的域名1
2
3
4
5
6
7
8
9
10
11
12
13
14
15
16
17
18
19
20
21
22
23
24
25
26
27
28
29
30
31
32
33
34
35
36
37
38
39
40
41
42
43
44
45
46
47
48
49
50
51
52
53
54
55
56
57
58
59
60
61
62
63
64
65
66
67
68
69
70
71server {
listen 80;
#server_name localhost;
server_name www.yubo365.cn;
return 301 https://$server_name$request_uri;
#charset koi8-r;
#access_log /var/log/nginx/host.access.log main;
#location / {
#root /usr/share/nginx/html;
#index index.html index.htm;
#}
#error_page 404 /404.html;
# redirect server error pages to the static page /50x.html
#
#error_page 500 502 503 504 /50x.html;
#location = /50x.html {
#root /usr/share/nginx/html;
#}
# proxy the PHP scripts to Apache listening on 127.0.0.1:80
#
#location ~ \.php$ {
# proxy_pass http://127.0.0.1;
#}
# pass the PHP scripts to FastCGI server listening on 127.0.0.1:9000
#
#location ~ \.php$ {
# root html;
# fastcgi_pass 127.0.0.1:9000;
# fastcgi_index index.php;
# fastcgi_param SCRIPT_FILENAME /scripts$fastcgi_script_name;
# include fastcgi_params;
#}
# deny access to .htaccess files, if Apache's document root
# concurs with nginx's one
#
#location ~ /\.ht {
# deny all;
#}
}
server {
listen 443 ssl; # nginx1.15之后用这个语法,老的语法是ssl on;
server_name service.yuming.com;
ssl_certificate /etc/nginx/conf/1_www.yubo365.cn_bundle.crt;
ssl_certificate_key /etc/nginx/conf/2_www.yubo365.cn.key;
ssl_session_timeout 5m;
ssl_protocols TLSv1 TLSv1.1 TLSv1.2;
ssl_ciphers ECDHE-RSA-AES128-GCM-SHA256:HIGH:!aNULL:!MD5:!RC4:!DHE;
ssl_prefer_server_ciphers on;
location / {
root /usr/share/nginx/html;
index index.html index.htm;
}
#location / {
#proxy_set_header Host $http_host;
#proxy_set_header X-Forwarded-For $proxy_add_x_forwarded_for;
#proxy_set_header X-Real-Ip $remote_addr;
#proxy_set_header X-NginX-Proxy true;
#proxy_pass http://localhost:8081;
#proxy_redirect off;
#}
error_page 500 502 503 504 /50x.html;
location = /50x.html {
root /usr/share/nginx/html;
}
}
开启80/443端口
进入到购买的腾讯云服务器后台,服务器安全组开启80/443端口,因为https默认的是443端口。
- 配置好以后,重启下服务器
1
2
3
4
5
//关闭
nginx -s quit
//开启nginx
nginx - 访问https://www.yubo365.cn/
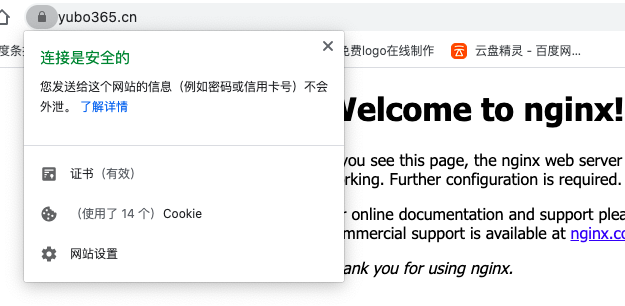
可以看到小锁连接是绿色的说明已经配置成功了